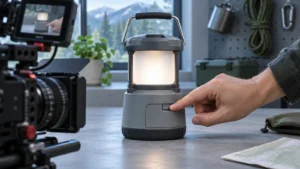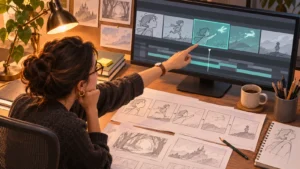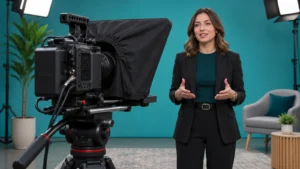
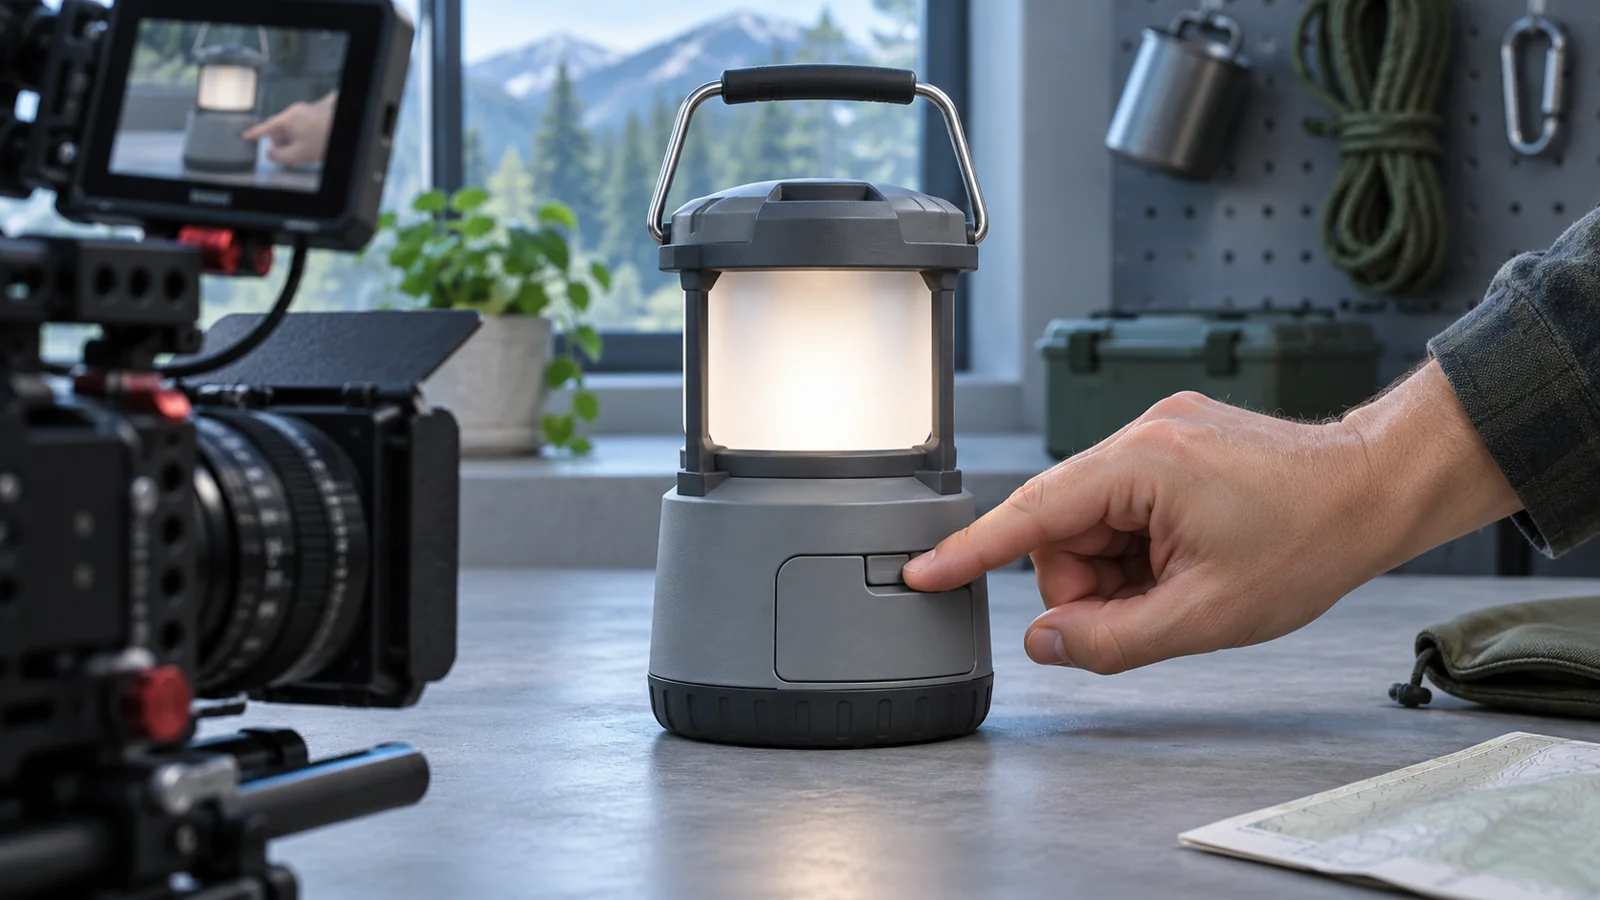
Start with the small action the viewer must understand. Show where it happens on the product, cut closer so the action stays visible and hold long enough to show what confirms it worked. Test the sequence on a screen like the one your audience will use before you approve the shot plan.
Name the cue the camera must show
Ask the product owner to demonstrate the action at a normal pace. Identify the moment that would be hard to follow from a wide view. It might be a tab moving into a slot, a switch changing position or a small indicator becoming visible. Write that cue into the shot plan in plain language.
Bolt’s product demo planning guide helps you choose the buyer question and the full sequence. Use the detail shot for the moment where a viewer needs to see a specific action or change to follow that sequence.
Plan an orienting shot and a closer view together
Start far enough back for the viewer to recognize the product and locate the part. Keep the action easy to track in the closer view. In a fictional lantern demo, the opening view could establish where the battery door sits. A closer angle could then show the latch moving and the door lifting. Establishing the position first helps the close view make sense.
Ask the operator to repeat the action while the camera team watches from the proposed angle. If a finger blocks the latch, try changing the camera position or the performer’s grip while keeping the operation accurate. Hold briefly on the completed step so viewers have a chance to recognize the result.
Review where the shots join
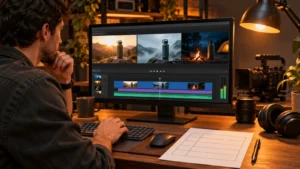
Record a short test of both views and watch them together. Check that the hand and product are in compatible positions when you cut between views. If the work requires a reset between takes, use the product sample preparation guide to record the starting state and assign responsibility for restoring it.
Watch the test at the intended playback size. Try it once without sound and ask someone unfamiliar with the product to point out what moved. If the mechanism is hard to see, show less of the surrounding workbench, separate the hand from the important detail or hold the shot longer. Ask the product owner to review the test for accuracy before the team commits to the setup.
Use a graphic when a mechanism is hidden
If the critical movement happens inside the housing, show the real exterior action and consider an illustration of the internal movement. Label the illustration and ask the product team to check what it represents. A useful graphic should make the connection clear when the edit returns to the real product.
See Bolt’s video production services or email brian@boltworldwide.com with the product, the action your buyer needs to see and where the demo will play.