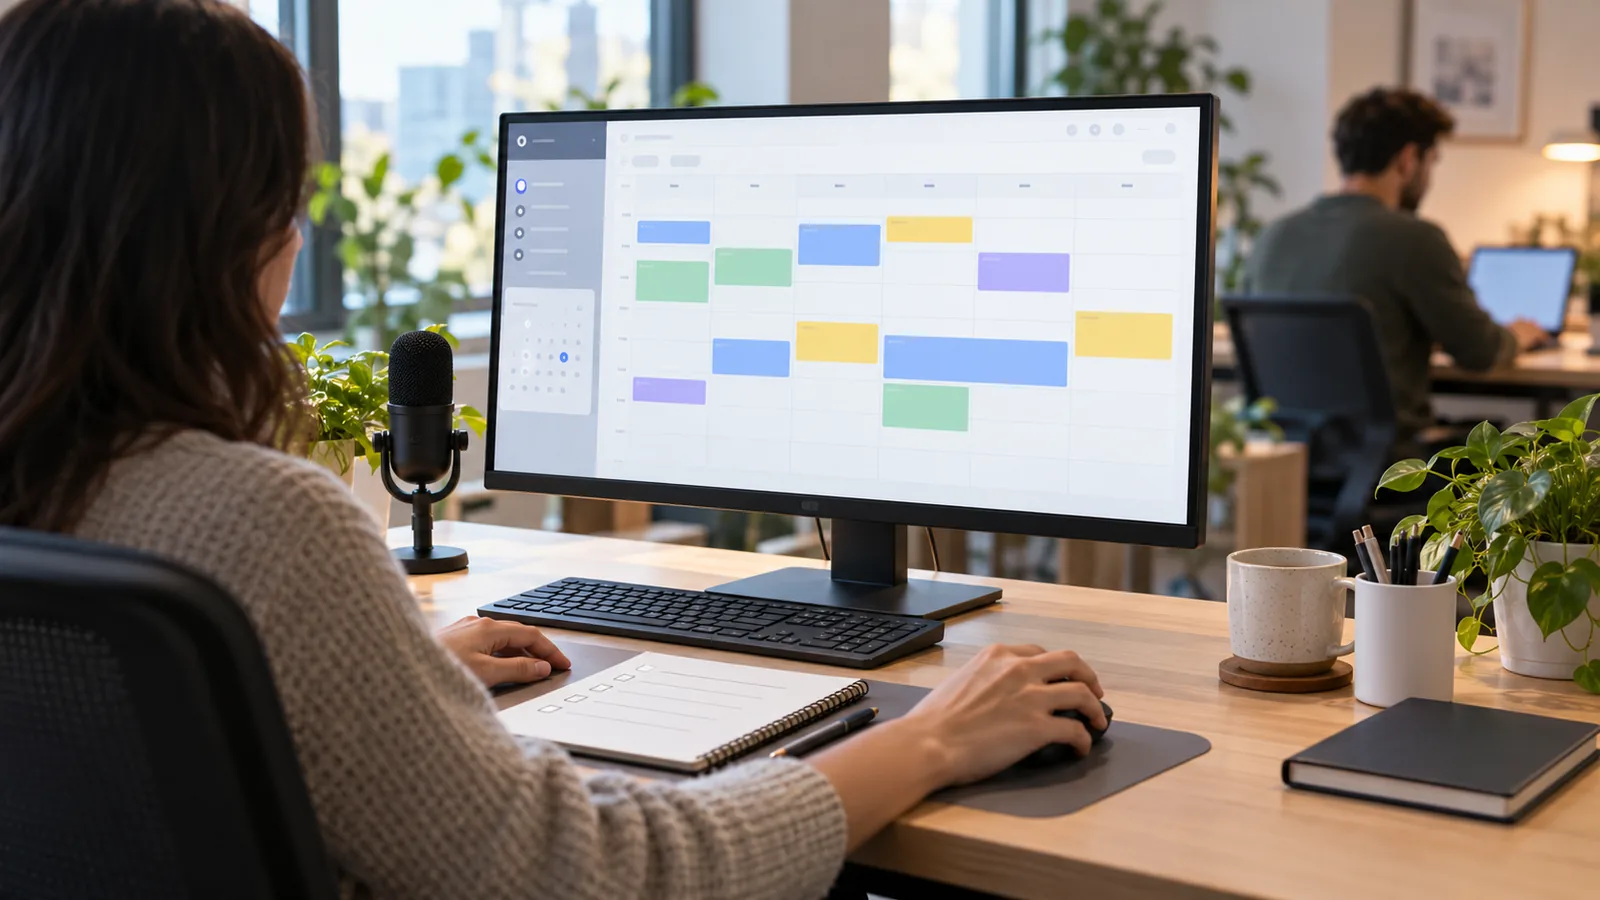
Prepare software screen recordings with a dedicated demonstration environment, shareable sample records and a rehearsed sequence of actions. Check every visible part of the desktop and browser, agree capture settings with the editor and record the product version being shown. Have a product reviewer inspect a test recording before producing the complete set of clips.
Illustrative generated image. This scene does not depict Bolt personnel, facilities or client work.
This is the preparation stage after you have decided what the demonstration must explain. The product demo planning guide covers that earlier decision. Here the assignment is narrower: give the edit team usable, accurate screen material without carrying an ordinary working account into the film.
Build a demonstration environment before opening the recorder
Use an account or environment intended for the demonstration, with the appropriate company permissions. Populate it with invented sample records that make the intended task understandable. Check related views too: a harmless example on the opening screen can lead to a private record, internal note or unrelated account when the next menu opens.
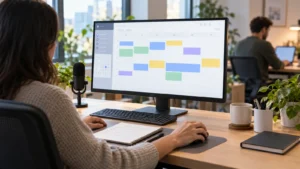
For a hypothetical scheduling product, create a small set of clearly fictional appointments and participants. Make sure the selected task can run from its starting state through the intended result. If the demonstration needs an integration or a particular account permission, confirm that condition in advance. Do not discover halfway through recording that an action is unavailable to the account being shown.
Keep a note of which examples are invented and what they represent. The film should not present sample customers, transactions or outcomes as real business evidence. Choose data that helps a viewer follow the operation without manufacturing a customer story.
Inspect the whole frame, not just the product window
Review the desktop, browser tabs, bookmarks, profile area, address bar, downloads and other windows that might become visible. Check for personal names, email addresses, private links and messages. Review notification settings through the normal approved controls before recording. Do not change company security protections simply to make a capture easier.
Run the exact planned sequence and watch for menus, suggestions, account selectors and pop-ups that reveal additional information. A clean opening screen does not establish that every later frame is suitable to share. If a task cannot be demonstrated without exposing something inappropriate, ask the product owner for a different setup or representation before recording it.
The claims, consent and privacy review guide explains broader company review responsibilities. Screen preparation supports that process. It does not certify the material or transfer the company’s information decisions to the editor.
Record the interface version and the demonstration conditions
Identify the build, release or dated interface used for the recording. Note any feature availability, account role or configuration that affects the visible operation. The reviewer needs to know whether the screen represents what the intended customer can actually use.
Decide what happens if the interface changes before release. A moved button may require another capture, a revised explanation or a decision to delay the affected sequence. Mark that question early rather than ask the editor to conceal a material product change with a crop or graphic. Keep the footage and the product explanation tied to the same reference version.
For language variants, check whether the interface itself changes. Translated narration over an unchanged English screen can leave the viewer following different labels. The localized graphics review covers checking those elements together in the finished cut.
Rehearse the click path as something a viewer must follow
Write the sequence of actions and the starting state each clip needs. Include where the cursor should pause, which menu opens and what result should remain visible. Practice resetting the demonstration between takes so the next recording does not begin with a task already completed.
Watch for movements that make sense to an experienced user but leave a new viewer behind. Keyboard shortcuts, rapid switching and unexplained cursor jumps can hide the operation you mean to demonstrate. Choose the action that explains the step, and discuss how the edit or narration will identify it.
Capture deliberate pauses around important actions. Ask the editor which parts need continuous recording and which can be separate clips. Do not speed up an operation or remove a required step in a way that misrepresents what the product does. A tighter sequence still needs to preserve the actual explanation.
Agree settings through a representative test clip
Tell the editor where the finished video will appear and which interface details matter. Discuss capture dimensions, display scaling, frame rate, cursor treatment and whether the edit needs room to enlarge a portion of the screen. Avoid applying a universal recording setting without checking the intended use and the receiving team’s requirements.
Send a short test that includes the smallest important label, a menu opening and a meaningful cursor movement. Have the editor assess it in the planned composition and viewing size. A screen that looks sharp at full size on your monitor may be difficult to understand after it is placed inside a wider film or a smaller delivery format.
Keep the original recording rather than supply only a clip that has already been enlarged, compressed or covered with graphics. Agree any requested processing with the receiving team. The editing handoff checklist covers organizing the files and notes around those source recordings.
Ask the product reviewer to accept the captured operation
Have the responsible product person watch the test, not just read the sequence. Can they identify the starting condition, the action and the result? Does the screen show the right terminology and behavior? Have they checked that no sample data or pictured result could be mistaken for a real customer claim?
Record corrections against the clip and moment they affect. A factual problem may need another recording, while an unclear explanation may need a different pause, crop or spoken cue. Keep those different remedies visible. Do not assume the editor can repair an inaccurate operation without returning to the product team.
After the capture set is complete, check that the clips match the accepted setup. Identify any exceptions or temporary elements before handing them over. A passed test confirms that test; it does not automatically approve later recordings made under different conditions.
Can we use an ordinary customer account?
Do not make that the default. Ask the accountable company team to establish an appropriate demonstration environment and shareable examples. Avoid recording private customer information on the assumption that someone can blur it later.
Should narration be recorded at the same time?
Discuss the workflow with the editor and message owner. A separate narration recording may need specific visual cues and timing references. A live walkthrough needs clear audio and a planned pace. The visual information and narration guide covers connecting the spoken explanation to what the viewer sees.
Email brian@boltworldwide.com with the demo sequence, intended viewing format and a description of the screen material available. Discuss the editing and preparation requirements before recording the full set. Keep private access credentials and customer records out of an introductory project inquiry.